A native feature request board where users post ideas and vote, inside your app, in about ten minutes. One package, one configure call, one view.
By Martin Lasek · Sep 4, 2026 · 8 min read
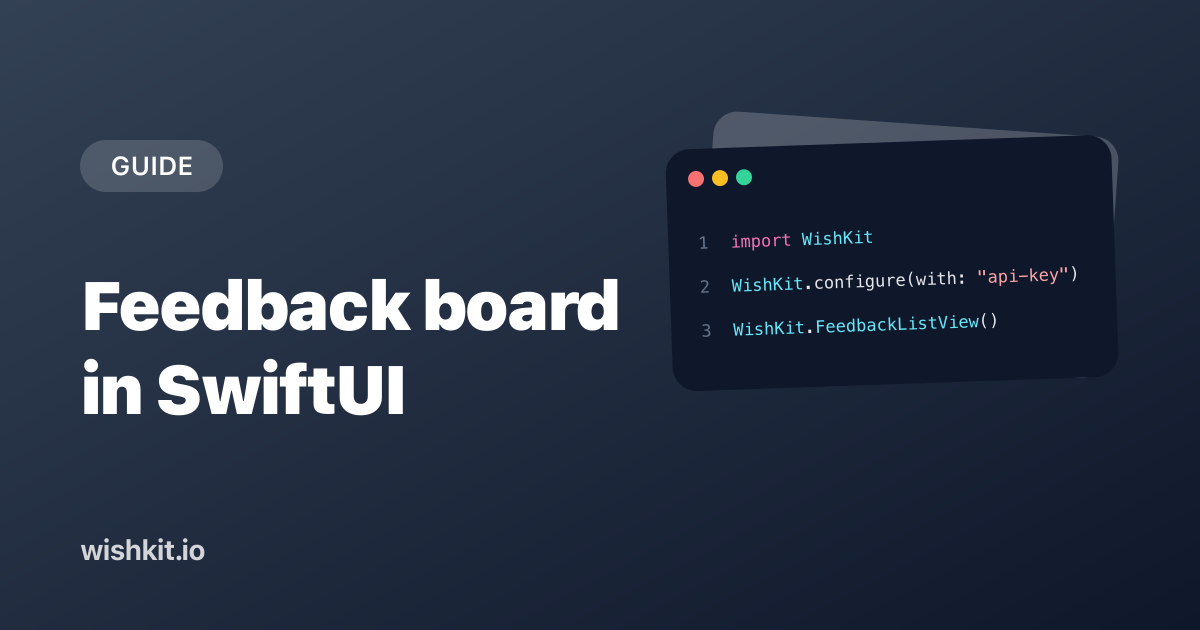
This tutorial adds a feature request board to a SwiftUI app using WishKit, our open-source SDK. Full disclosure up front, and also the reason the tutorial is short: the SDK exists so you do not build a backend, a voting model, moderation, and a UI for this yourself. By the end, users can open a screen in your app, post a request, vote on others, and comment, and you manage everything from a web dashboard.
What you need: Xcode, an app targeting iOS 16 or later (macOS 13, visionOS 1, watchOS 10 and tvOS 17 also work), and a free WishKit account for the API key.
In Xcode, choose File, Add Package Dependencies, and paste the package URL. Add the WishKit product to the app target that will show the board.
1 https://github.com/wishkit/wishkit-ios.git
The SDK is SwiftUI-only from version 5 on, which is the version you want. Nothing else to install, no CocoaPods, no scripts.
Create a project in the WishKit dashboard and copy its API key. Then configure the SDK as early as possible, typically in your App struct's initializer, so it is ready before any view asks for it.
1 import SwiftUI
2 import WishKit
3
4 @main
5 struct MyApp: App {
6     init() {
7         WishKit.configure(with: "your-api-key")
8     }
9
10     var body: some Scene {
11         WindowGroup {
12             ContentView()
13         }
14     }
15 }
That is the only setup call. The key identifies your project. It is safe to ship in the app because it only allows what users are supposed to do anyway: read the board, post, vote, and comment.
The board is a SwiftUI view. On iOS and tvOS it expects to live inside a navigation container. If you are not already inside a NavigationStack, add the modifier that provides one.
1 import SwiftUI
2 import WishKit
3
4 struct FeedbackScreen: View {
5     var body: some View {
6         WishKit.FeedbackListView().withNavigation()
7     }
8 }
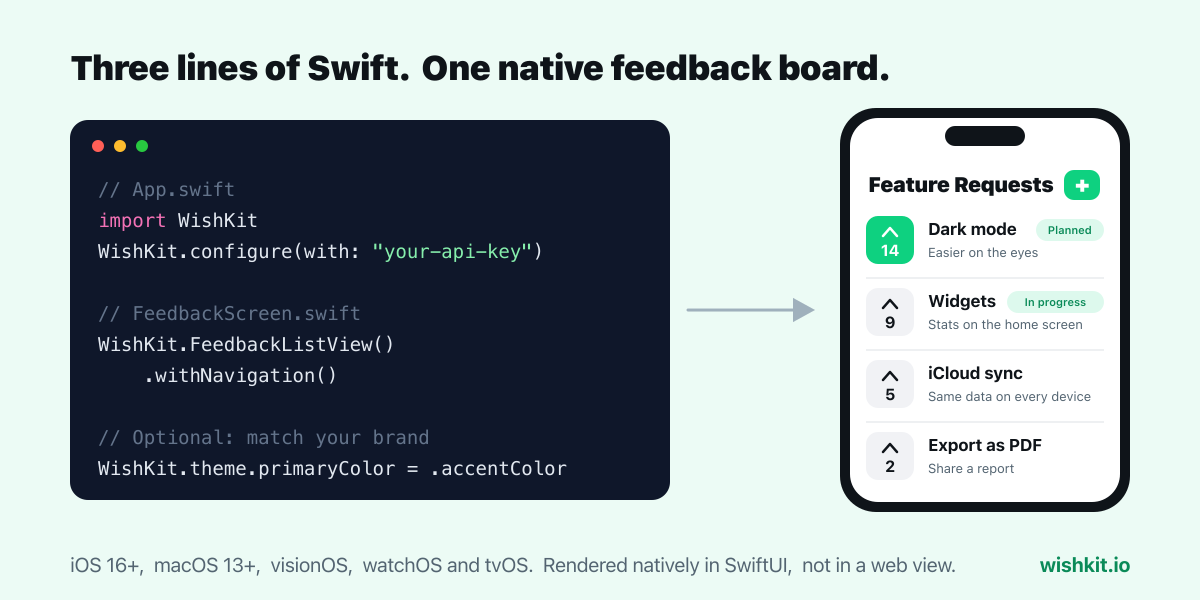
Run the app, open the screen, and you have a working feature request board with a create button, voting, statuses, and comments. macOS, visionOS and watchOS bring their own navigation, so there the plain view without the modifier is correct.
A feedback board nobody can find collects nothing. In order of how well they work:
1 TabView {
2     HomeView()
3         .tabItem { Label("Home", systemImage: "house") }
4
5     WishKit.FeedbackListView().withNavigation()
6         .tabItem { Label("Feedback", systemImage: "lightbulb") }
7 }
Use the words "Feedback" or "Feature Requests". Cute names like "Ideas" or "Wishing Well" cost you submissions, because users scanning for where to complain do not recognize them.
Users can post and vote anonymously, and WishKit keeps their votes consistent across launches on its own. But if your app already knows the user's email or name, pass it along, and if you know what they pay you, pass that too. In the dashboard you can then sort requests by the revenue behind them, which is the single most useful filter when deciding what to build.
1 WishKit.updateUser(email: "jane@example.com")
2 WishKit.updateUser(name: "Jane")
3 WishKit.updateUser(customID: "user_8AHD1IL03ACIP")
4 WishKit.updateUser(payment: .monthly(7.99))
Call these whenever the values change, for example after sign-in or after a subscription purchase. Only pass what you already have. Do not add a sign-up flow just for this.
Out of the box the board uses system colors and looks native. The one thing worth changing is the accent color, so the vote button and primary actions match your brand. Set it once, next to the configure call.
1 WishKit.theme.primaryColor = .accentColor
2
3 // Optional switches, all off or default unless you flip them
4 WishKit.config.allowUndoVote = true
5 WishKit.config.statusBadge = .show
6 WishKit.config.commentSection = .show
7 WishKit.config.expandDescriptionInList = true
Leave the background colors alone. Boards that force custom backgrounds tend to look like a web view, which is exactly what a native SDK is meant to avoid. If you localize your app, the SDK's strings are customizable through its localization config, and on iOS 18 and later there is an optional on-device translate button for requests written in other languages.
Run the app, post a request from the simulator, then open the dashboard. The request is there, with the user's details if you passed any. Change its status to Planned in the dashboard and pull to refresh in the app: the badge updates. That round trip is the whole product, and it is worth doing once so you trust it before shipping.
Before you submit to the App Store, seed the board with two or three real requests you already know about. An empty board makes users think nobody is listening. A board with a few items and a "Planned" badge makes them want to add theirs.
UIHostingController(rootView: WishKit.FeedbackListView().withNavigation()).No. The SDK talks to WishKit's servers. There is nothing to host, and the web dashboard is where you manage requests, statuses, and comments.
Yes to start. The free plan includes one project with the board, voting, and unlimited users. Premium is a flat $15 a month, or $12.50 billed yearly, for two projects plus comments and user notifications.
Yes. The same project has a web SDK: one anchor element and one script tag render the same board inline on any page, so your app and your site share one list of requests. The web side is in how to embed a feedback board on your website.
You can. A minimal version is a table, a vote endpoint, and a moderation screen, plus the duplicate handling and abuse controls you discover you need after launch. Most teams find that a week of work they would rather spend on their actual product, which is why the SDK exists. We compared building it yourself with the other options in in-app feature voting for iOS, and the iOS feature requests guide covers the workflow you will need either way.
WishKit lets your users request features and vote on them, in your app or on your website, so you know what to build next.
Try WishKit for freeFree plan included, no credit card required.
