Where the key, the Key ID and the Issuer ID come from, how to turn them into a token App Store Connect accepts, and what to check when it says 401.
By Martin Lasek · Oct 8, 2026 · 8 min read
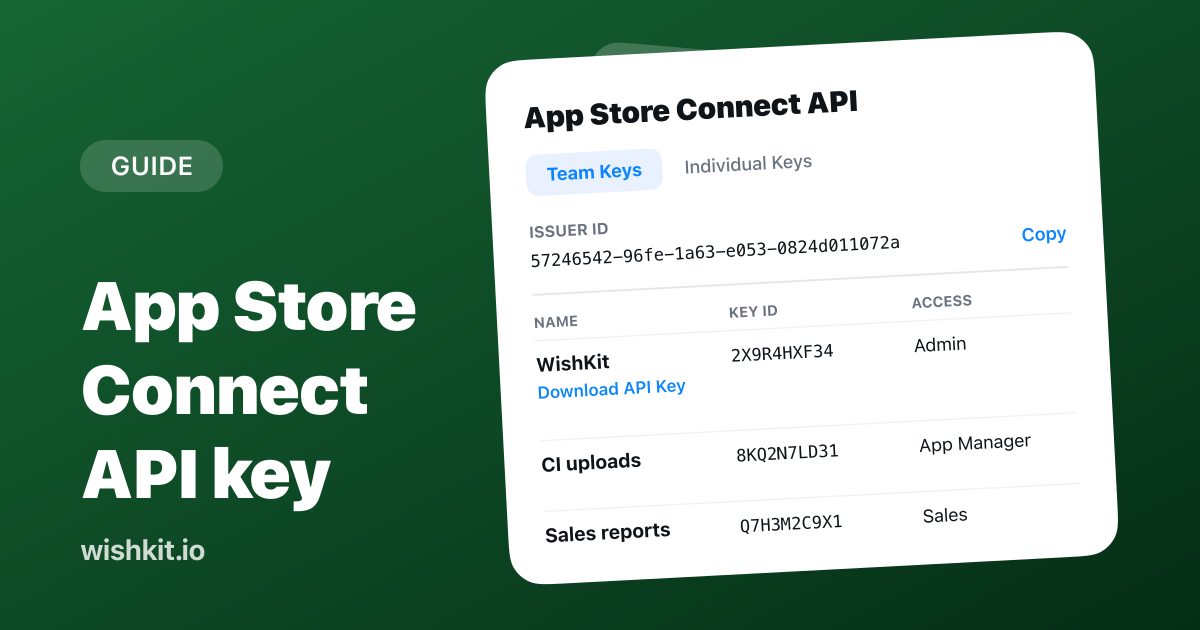
An App Store Connect API key lets your scripts, your CI and the tools you connect read and change your App Store Connect data without your password. It's a private key file you download once, plus two IDs. Every request carries a short-lived token you sign with that key.
This guide walks through creating a key, finding the IDs, signing the token in Swift, making a first request, and fixing the errors that come up. The Swift code is the same approach WishKit runs in production to sync App Store reviews.
In App Store Connect, go to Users and Access, then Integrations, then App Store Connect API, and generate a team key with the role your tool needs. Download the .p8 file right away, because Apple only offers it once. Copy the Key ID from the key list and the Issuer ID from the top of the page. Then sign a JWT with ES256 that lives at most 20 minutes and send it as a Bearer token.
| Team key | Individual key | |
|---|---|---|
| Access | All apps, limited by the key's role | The apps and permissions of one user |
| Who creates it | An Admin, under Users and Access | The user, in their profile, with permission |
| Token payload | iss with your Issuer ID | "sub": "user", no Issuer ID |
| Use it for | CI, servers and tools like WishKit | Personal scripts |
Apple adds that individual keys can't use the Provisioning endpoints or notarytool, and that team keys reach every app no matter their role. The rest of this guide uses a team key, which is what most tools ask for.
You need an Admin account in App Store Connect. Then, as in Apple's guide:
The role decides what the key may do, with the same roles your team members have. Apple's example is the top of the scale: "keys with the Admin role have broad permissions and can do things like create new users and delete users." Give each tool its own key with the lowest role it needs, so you can revoke one without breaking the others.
Next to the new key, click Download API Key. You get a file named AuthKey_ followed by the Key ID, ending in .p8. Do it now:
"The download link only appears if you haven’t downloaded the private key. Apple doesn’t keep a copy of the private key."
If you lose the file, there is no second download. Revoke the key and generate a new one. And treat it like a password. Apple's rule is "Don’t share your keys, store keys in a code repository, or include keys in client-side code." That last part matters for app developers: the key belongs on a server, in your CI secrets or on your Mac, never inside your iOS app.
2X9R4HXF34. Hover next to it and click Copy Key ID. It's also in the file name.57246542-96fe-1a63-e053-0824d011072a, with a Copy button next to it. It's the same for every team key on your account.Mixing the two up is the most common first mistake. The short one goes in the header, the long one in the payload.
The App Store Connect API doesn't take the key itself. It takes a JSON Web Token (JWT) you sign with it, sent as a Bearer token. The token has three parts:
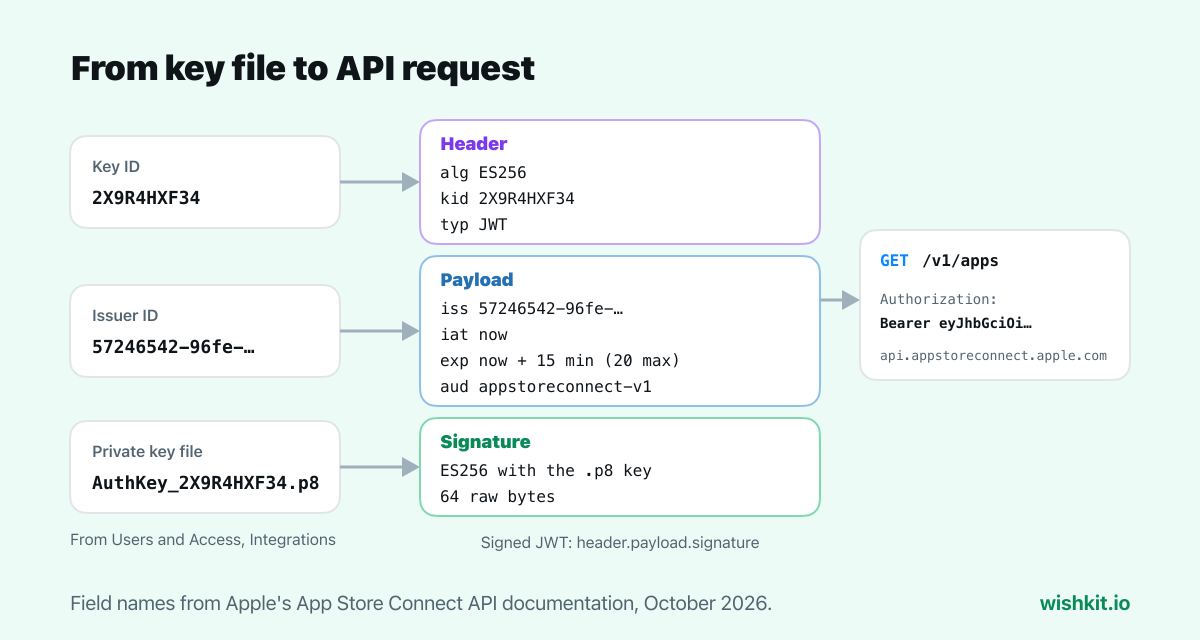
alg is always ES256, kid is your Key ID, typ is JWT.iss is your Issuer ID, iat and exp are the issue and expiry times in Unix seconds, and aud is appstoreconnect-v1. An optional scope limits the token to the requests you list.Keep it short-lived. In Apple's words, "For most requests, App Store Connect rejects a token with a lifetime greater than 20 minutes." You don't need a new one per call either: "You don’t need to generate a new token for every API request." Reuse it until it expires.
In Swift, CryptoKit does the signing, with no extra package. This is the approach WishKit uses in production, with a 15-minute lifetime that leaves room for clock drift:
1 import CryptoKit
2 import Foundation
3
4 func makeToken(issuerID: String, keyID: String, privateKeyPEM: String) throws -> String {
5     let key = try P256.Signing.PrivateKey(pemRepresentation: privateKeyPEM)
6     let now = Int(Date().timeIntervalSince1970)
7     let header = ["alg": "ES256", "kid": keyID, "typ": "JWT"]
8     let payload: [String: Any] = ["iss": issuerID, "iat": now, "exp": now + 15 * 60, "aud": "appstoreconnect-v1"]
9     let signingInput = base64URL(try JSONSerialization.data(withJSONObject: header))
10         + "." + base64URL(try JSONSerialization.data(withJSONObject: payload))
11     let signature = try key.signature(for: Data(signingInput.utf8))
12     return signingInput + "." + base64URL(signature.rawRepresentation)
13 }
14
15 func base64URL(_ data: Data) -> String {
16     data.base64EncodedString()
17         .replacingOccurrences(of: "+", with: "-")
18         .replacingOccurrences(of: "/", with: "_")
19         .replacingOccurrences(of: "=", with: "")
20 }
Pass in the contents of the .p8 file as privateKeyPEM. Note rawRepresentation on line 12: JWT expects the ES256 signature as 64 raw bytes. CryptoKit's derRepresentation produces a different format that a JWT verifier won't accept, and it's the classic reason a token that looks right still fails.
With a token, listing your apps is one call:
1 curl -H "Authorization: Bearer $TOKEN" \
2     "https://api.appstoreconnect.apple.com/v1/apps"
A JSON list of your apps means everything works. It's also a good first call for any tool, because it proves the key, both IDs and the signature in one go.
A 401 means App Store Connect didn't accept the token. Check these in order:
kid, the Issuer ID in iss.iat and exp is rejected for most requests, and a reused token stops working at exp.iat and exp come from the machine that signs. A server or CI runner with a wrong clock produces tokens that are already expired or not yet valid.iss. Individual keys need "sub": "user" and no Issuer ID.scope claim, App Store Connect rejects any request that none of the entries match.If the token is fine but a call is still refused, the key's role is too low for that request. Generate a key with the role the endpoint needs.
Apple's advice is short: "If you suspect a private key is compromised, immediately revoke the key in App Store Connect." Revoke it in the same key list, generate a new one, and update every tool that used the old key. That's the payoff of one key per tool: replacing one doesn't touch the others.
WishKit uses a team key to sync your App Store reviews into its dashboard, where you can read them, reply, and turn the ones that ask for features into requests on your board. Connecting takes a minute:
AuthKey_….p8 file. WishKit reads the Key ID from the file name.The key is stored encrypted, and disconnecting deletes it along with the synced reviews. The first sync pulls in the last year of reviews, up to 1,000, from every storefront into one list:
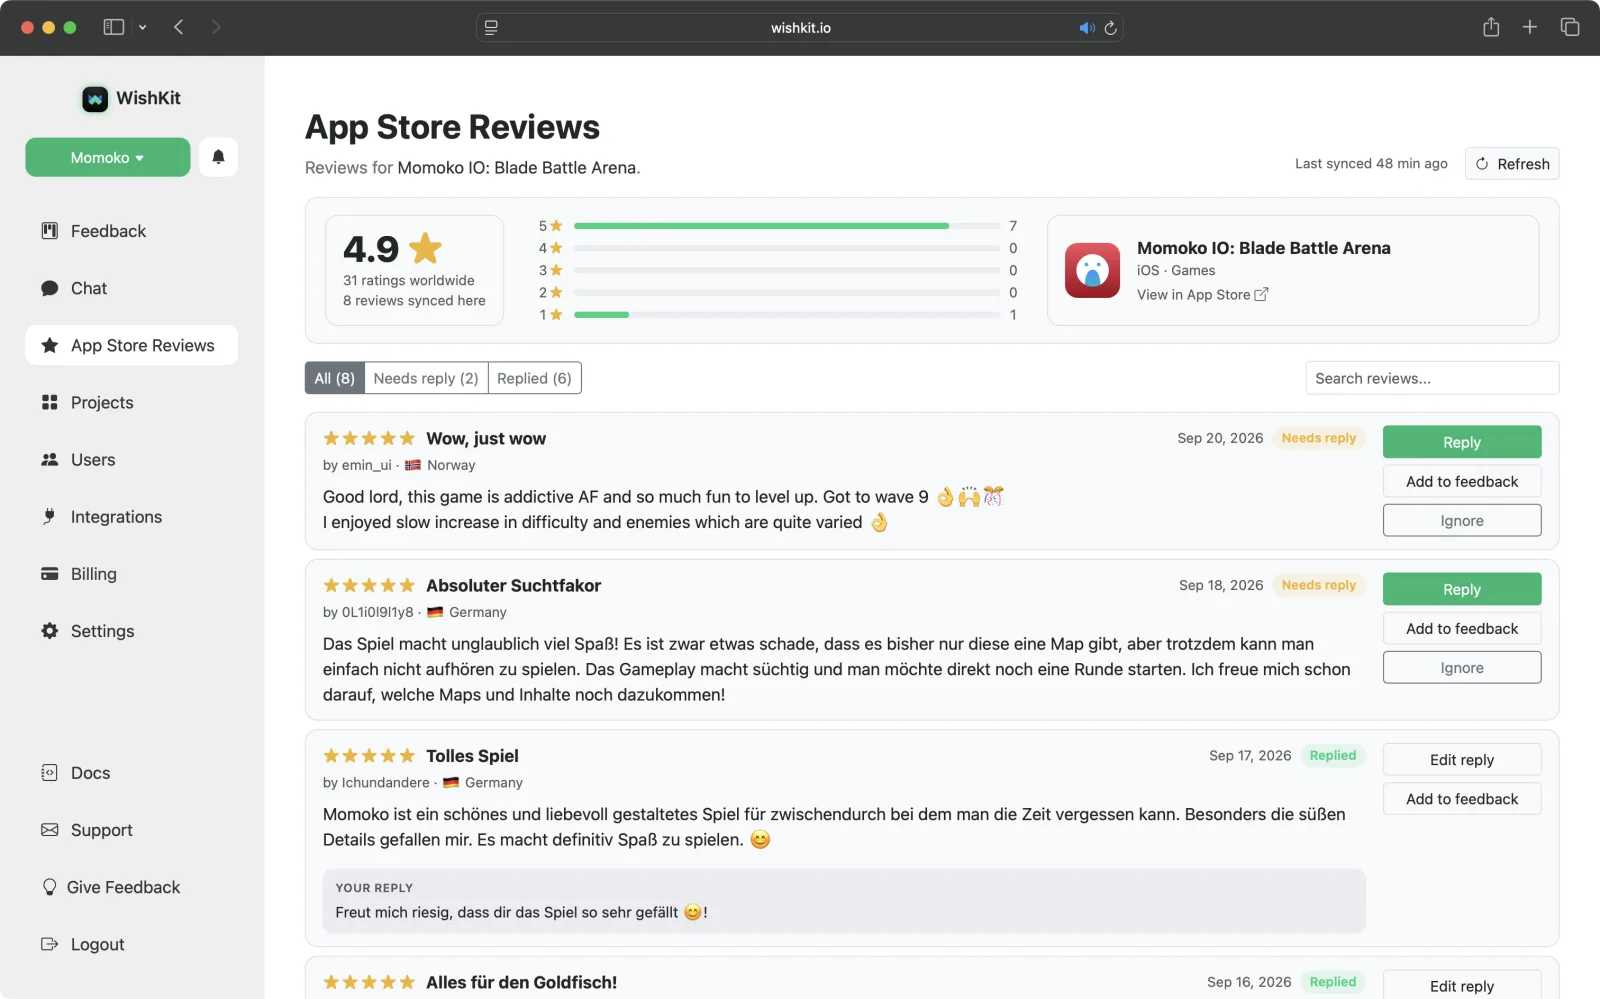
Reading reviews and getting an email within the hour when a 1 or 2 star review arrives is free. Replying and turning reviews into feature requests are part of Premium. More in how to reply to App Store reviews.
In App Store Connect, under Users and Access, then Integrations. It's the long UUID near the top of the page, with a Copy button next to it.
No. Apple offers the .p8 file once and doesn't keep a copy. If it's lost, revoke the key and generate a new one.
For most requests, at most 20 minutes from iat to exp. Apple accepts longer-lived tokens only for some read-only requests that use a scope.
The lowest role that covers what the tool does. A tool that only reads can live with less than one that writes, like posting review replies, which WishKit does with an Admin key.
No. Apple says not to include keys in client-side code. Anyone could extract it from the app. Keep it on a server, in CI secrets or on your Mac.
Not in Swift. CryptoKit signs ES256 on its own, as in the code above. Other languages have open-source JWT libraries, which is what Apple points to.
Setup takes less than a minute. Free plan included, no credit card required.
Try WishKit for free